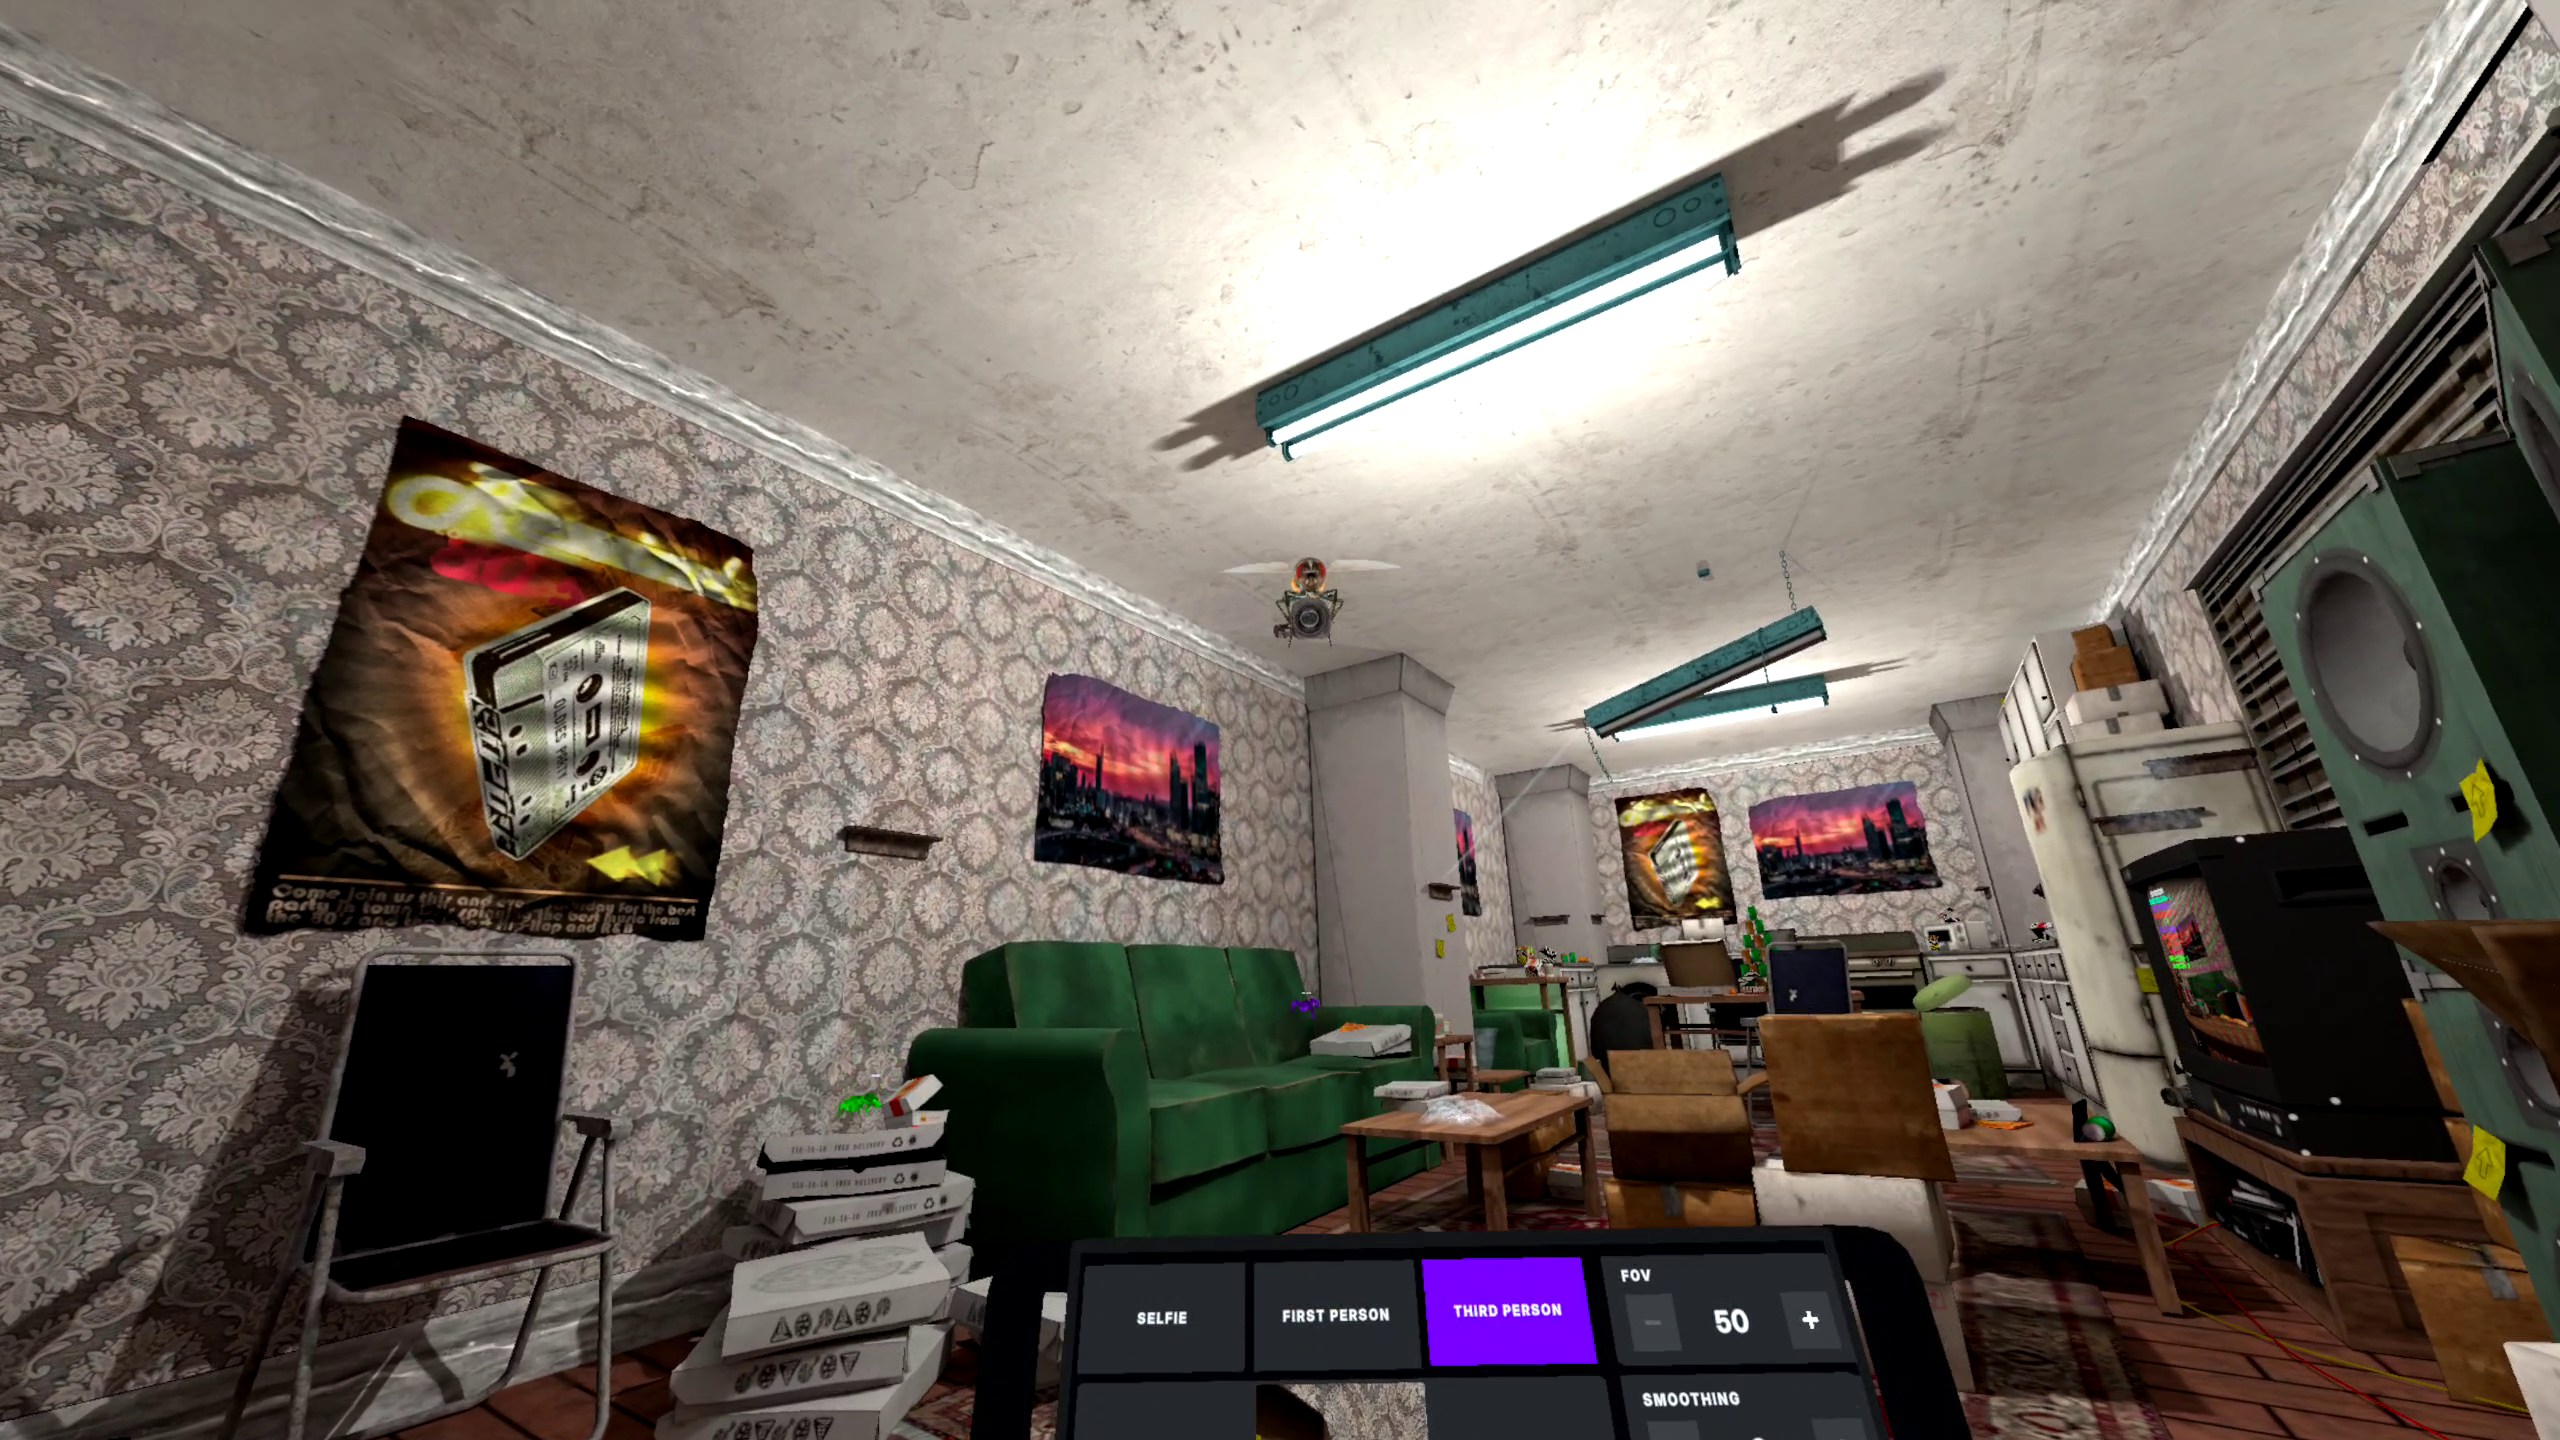
.png)
When LIV Creator Kit launched in Gorilla Tag, players created over 19 million recordings in just the first month. This success wasn't just luck - it came from thoughtful implementation choices that made the camera feel natural and easy to use.
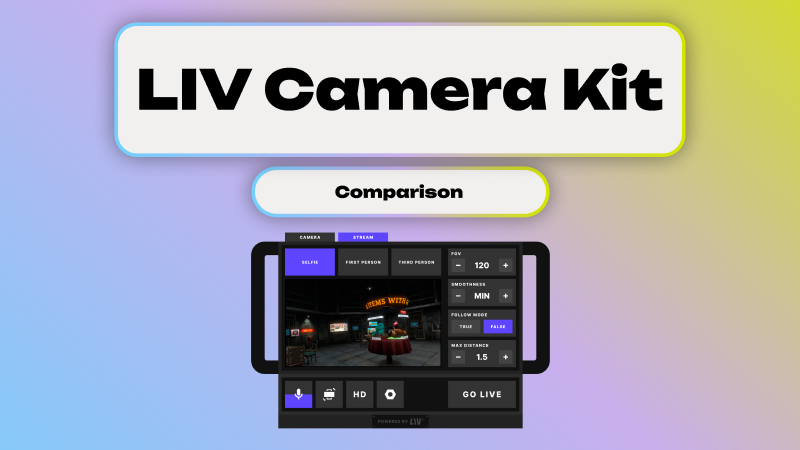
LIV Creator Kit (LCK) is our free SDK that brings in-game recording capabilities to VR games on both Quest and PCVR platforms. It enables players to capture gameplay from multiple angles without requiring external apps or setups.
As more games have integrated LCK, we've gathered valuable insights from developers who've found creative ways to make recording features feel native to their worlds. Here's what works:
Making Your Camera Discoverable
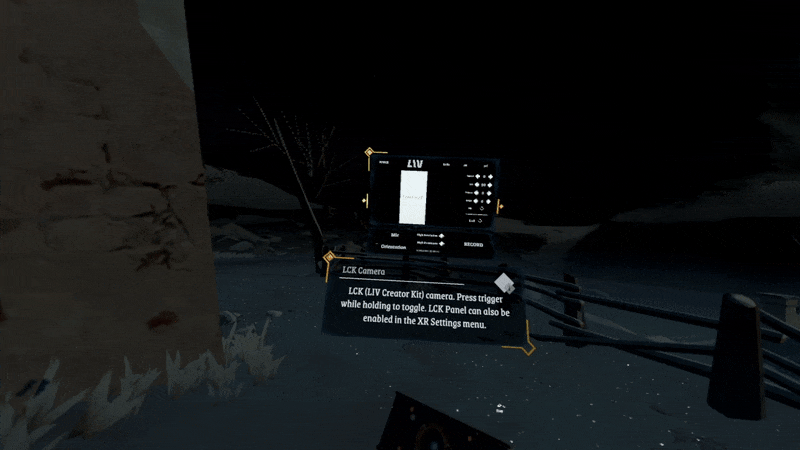
The first rule of adding recording features? Make sure players can actually find them. Gorilla Tag places the camera in every wardrobe where players frequently visit. This isn't just convenient - it's smart design. Players shouldn't need to dig through menus or watch tutorials to start recording.
Some tips for camera placement:
- Put it in high-traffic areas (Journey Up places their camera in the lobby and at level starts)
- Make it visually distinct
- Keep it consistent across different maps or zones
- Consider adding visual hints or tooltips (SkyStrikers adds a bright yellow "!" above the camera in the lobby)
- Place cameras in multiple locations (lobby, gameplay areas, etc.)
Games like Digigods make the camera available right in the main spawn area, while The Light Brigade places it on the workbench in town where players naturally visit between runs.

Matching Your Game's Style
The camera shouldn't feel like a foreign object dropped into your game. Gorilla Tag’s camera has a low res pixel makeover - perfectly fitting the game's quirky aesthetic. Other games are finding creative ways to make the camera their own:
Examples:
- Motion Soccer Pro displays the camera feed on stadium screens
- UNDERDOGS integrates it into the mech with a custom UI that matches the cockpit design
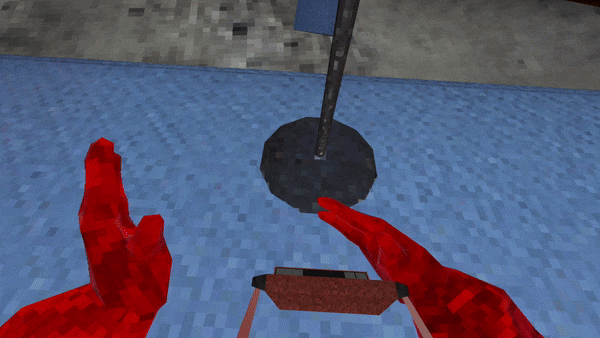
- Spiders designed a fly camera model to represent the third-person camera
- Pavel's Gulag Getout uses a TV-style camera that fits their retro aesthetic
- The Light Brigade skinned the camera to fit the holy theme of their game
This personalization helps the camera feel like it belongs in your world rather than something tacked on after the fact.

Considering Movement and Locomotion
VR games feature varied movement mechanics, and your camera implementation should account for how players get around your world.
Smart Solutions from Developers
- Gorilla Tag created a chest mount that keeps the camera with players as they swing around
- Pixel Arcade added an over-the-shoulder holster with an audible confirmation sound when stowed
- Bull Hit keeps the camera attached to the bull while the player rides
- The Light Brigade lets players keep the camera in their pockets
- Project Demigod integrated the camera into the powers menu, making it easily accessible during superhero flight
Importantly, recording should continue while the camera is stowed so players can move and capture footage simultaneously. This maintains the flow of gameplay while still getting great content.
Performance Matters
Getting smooth recordings while maintaining game performance takes some fine-tuning. The team at One Hamsa (creators of UNDERDOGS) shared a valuable tip: "If you're using SpaceWarp and running at 45/90, you can drop to 36/72 for enough headroom while keeping playable performance."
Technical Considerations:
- Test recording in busy gameplay scenarios
- Monitor performance impact across different Quest models
- Some games limit HD recording or recording in general to Quest 3/3S headsets, or sign post the fact that Quest 2 may have performance issues while recording
- Balance quality settings with gameplay smoothness
Performance Optimization Strategies:
- Reduce the capture resolution for better performance
- Lower capture framerate (FPS) during recording
- Consider making the feature exclusive to Quest 3, 3S, and/or PCVR if necessary
- Implement specific optimizations when the camera is active
- If your game runs at 90Hz, allow it to drop to 72Hz during recording
- Remember that players are often okay with temporary FPS drops below 72fps during recording moments
- Invest time in optimizing your game further to create headroom for recording features
UNDERDOGS takes this further by pausing the game while players adjust camera settings, ensuring the experience remains smooth even during camera setup. While they initially released their Camera Toolbox update exclusively for Quest 3/3S due to performance concerns, they later extended it to Quest 2 players after receiving numerous requests. They made this decision while being transparent about potential performance impacts, giving players the choice rather than making assumptions about what their community would prefer.
Player-Friendly Features
Smart design choices can make a big difference in how often players use recording features:
- Add stowing options for hands-free recording
- Include clear visual feedback when recording starts/stops
- Make it easy to recover the camera if players lose it
- Keep controls simple and consistent
Platform-Specific Optimizations
Different platforms offer unique opportunities for integration:
Steam-Specific Features
- Gorilla Tag directs the game capture .exe to show the LCK camera view when active, this allows streamers to easily capture LCK footage through OBS/SLOBS.
Extra Mile: Advanced Camera Modes
Some games have expanded on the basic LCK implementation with additional features:
- UNDERDOGSs added multiple specialized camera modes (free camera, orbit, anchored points)
- The Light Brigade includes a lock button to keep the camera close and focused on the player.
Learning From Success
The most successful LCK implementations share a common thread: they make recording features feel natural and accessible. Players recorded millions of videos because the tools were right there, easy to use, and felt like part of the game.
The key is finding the sweet spot between functionality and fitting naturally into your game's world. When players don't have to think about how to use the camera, they're much more likely to create and share content.
Getting Started with LIV Creator Kit
Ready to add LIV Creator Kit to your game? The SDK is completely free and typically takes between a few minutes to a few hours to implement, depending on what custom features you add to it.
Visit dashboard.liv.tv/dev to create an account and download the SDK. Our documentation will guide you through the implementation process, and support from both our team and other fellow developers is available on our public Discord to help with any questions.